
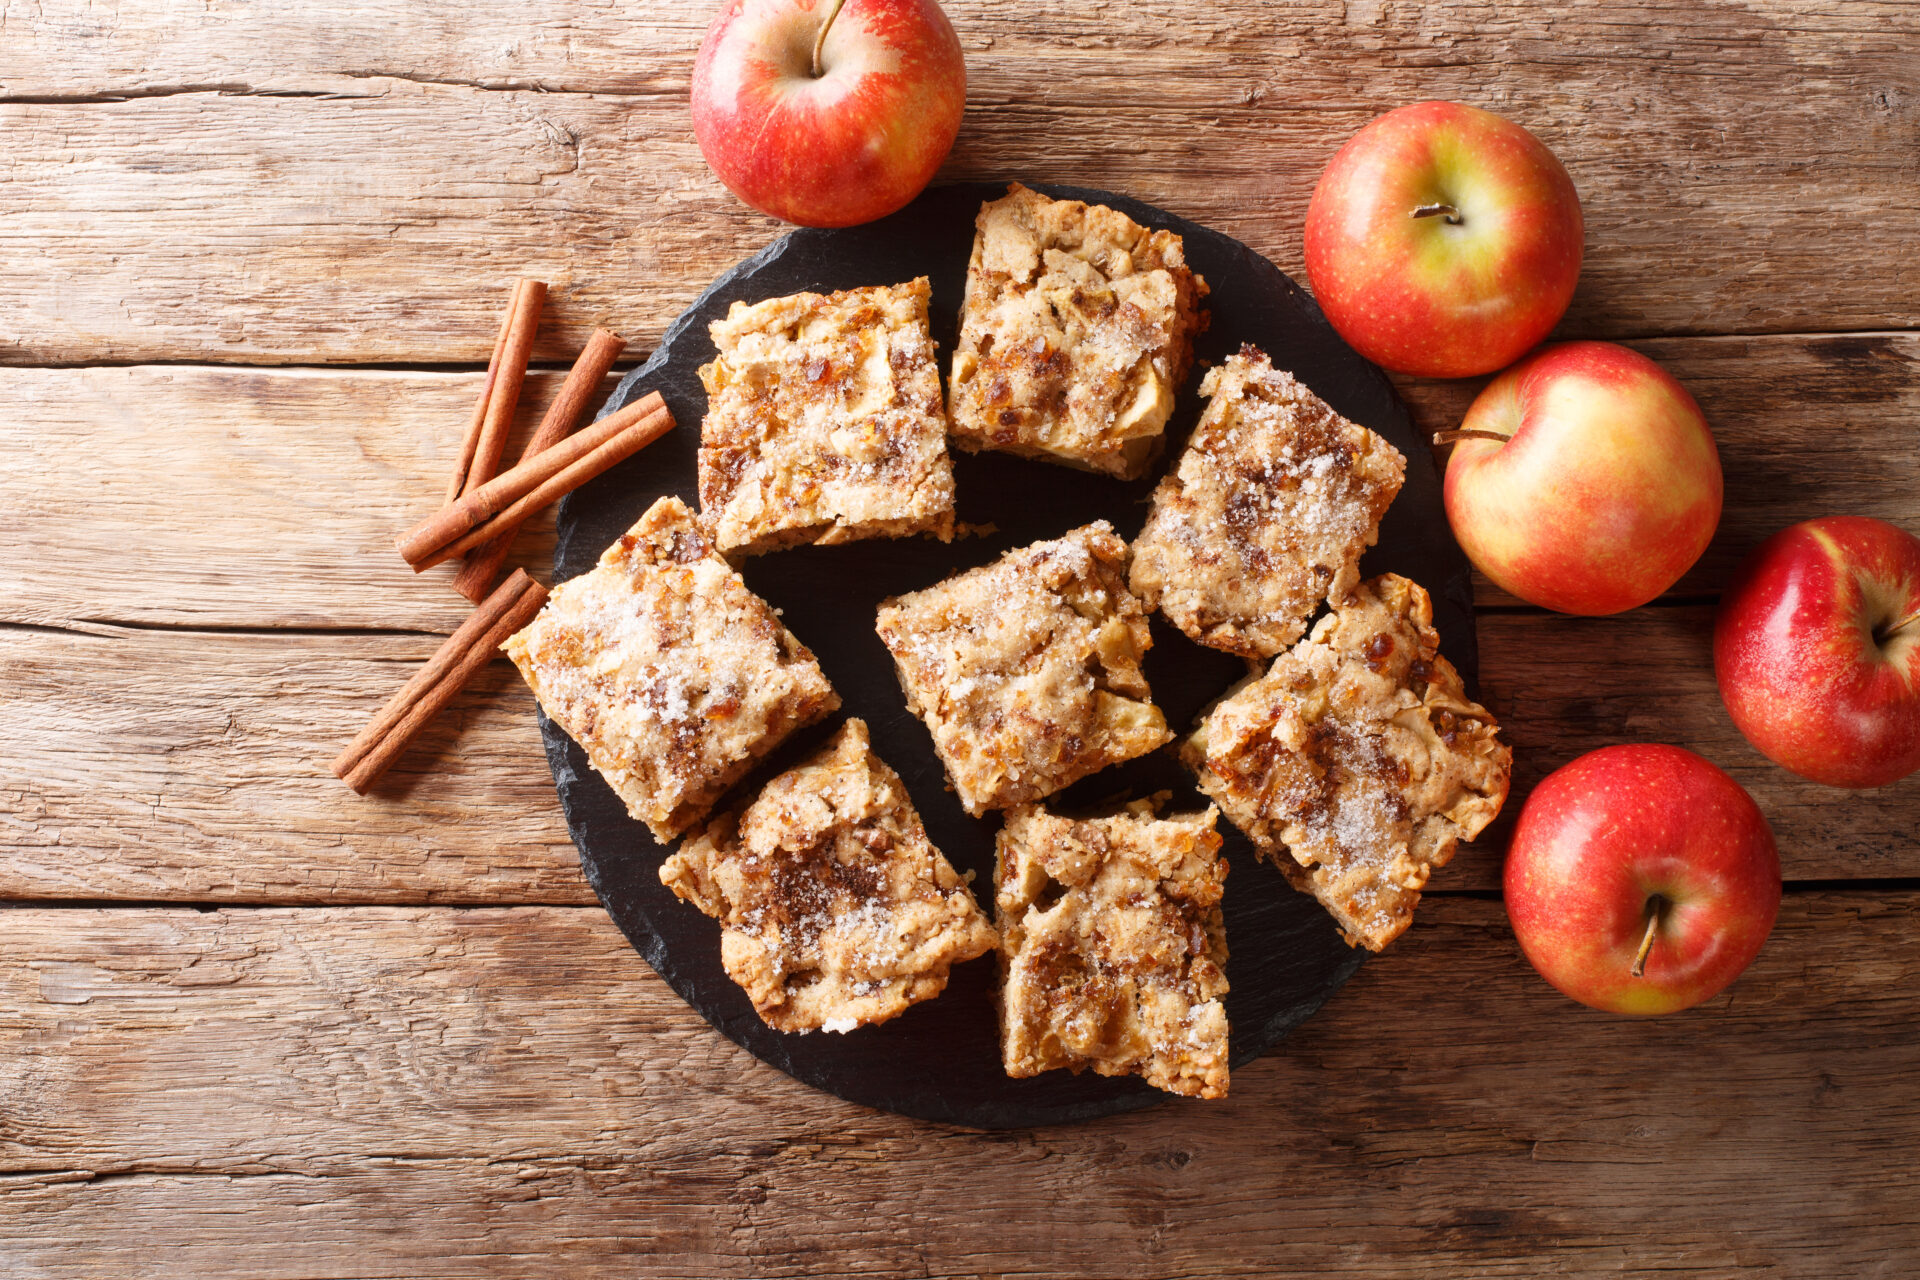
Apple Pie Bars
Keep this in mind before you go pumpkin-crazy – September is about apples, too! These Apple Pie Bars embrace all that is great about this time of year – warm cinnamon (thanks to Member’s Mark™ Ground Cinnamon), tart apples, and a buttery, crumbly crust. Plus, making this treat in bar form is so much easier (but just as delicious) as a pie!
Want to Make Homemade Apple Pie Filling? Try This!
This recipe uses canned apple pie filling, but you can also make yours from scratch. Here’s how:
Homemade Apple Pie Filling for Apple Pie Bars
Ingredients
-
5–6 medium apples (about 2½–3 lb), peeled, cored, and thinly sliced
-
⅓ cup brown sugar
-
¼ cup granulated sugar
-
2 tbsp all-purpose flour or 1½ tbsp cornstarch
-
1 tsp cinnamon
-
¼ tsp nutmeg
-
¼ tsp salt
-
1 tbsp lemon juice
-
1 tsp vanilla extract
-
2 tbsp butter
Instructions
-
Prepare the apples
-
Peel, core, and slice the apples about ⅛–¼ inch thick.
-
Good choices include Granny Smith, Honeycrisp, Braeburn, or a combination.
-
-
Make the filling
-
In a large bowl, toss the apples with the brown sugar, granulated sugar, flour, cinnamon, nutmeg, salt, and lemon juice.
-
Let them sit for about 10 minutes so the sugar can draw out some moisture.
-
-
Cook it down
-
Melt the butter in a large skillet over medium heat.
-
Add the apple mixture and cook for 6–10 minutes, stirring occasionally.
-
The apples should soften slightly but still have some bite.
-
The juices should become noticeably thick and syrupy.
-
-
Finish
-
Remove from the heat and stir in the vanilla.
-
Let the filling cool for 10–15 minutes before putting it onto your crust.
-
For apple pie bars specifically
Don’t skip the cooking step. Raw apples release a lot of juice while baking, which can make the bottom crust soggy and the bars difficult to slice.
For an especially thick, bakery-style filling, use cornstarch instead of flour and cook until the juices are visibly glossy and thick. You can also chop about ¼ of the apples into smaller pieces so the filling holds together nicely when you cut the bars.
Apple Pie Bars
Ingredients
For the Crust and Topping
- ⅔ cup Brown sugar
- ⅔ cup Crisco® All-Vegetable Shortening melted
- 1 tsp Vanilla extract
- 2 tbsp Lemon juice
- 1⅔ cup All-purpose flour
- ½ cup Rolled oats
- ½ tsp Clabber Girl® Baking Powder
- ½ tsp Member's Mark™ Ground Cinnamon
- ¼ tsp Ground nutmeg
- ¼ tsp Ground allspice
- ½ tsp Salt
For the Filling
- 1 21 oz can Apple pie filling
- ½ tsp Member's Mark™ Ground Cinnamon
- 2 tsp Lemon juice
- ⅓ cup Walnuts chopped
- Powdered sugar optional
- Caramel sauce optional

Instructions
For the Crust and Topping
- Preheat oven to 350°F and line an 8×8-inch baking pan with non-stick cooking spray.
- In a large bowl, whisk together the brown sugar, melted shortening, vanilla extract, and lemon juice until well-blended and creamy.
- In a medium bowl, whisk together the flour, oats, baking powder, cinnamon, nutmeg, allspice, and salt. Add the flour mixture to the shortening mixture and stir until you have a dough that will hold together.
- Press two-thirds of the dough into the bottom of the prepared pan. Bake for 18 minutes. Remove from the oven and allow to cool for 10 minutes.
For the Filling
- In the bowl used for the flour mixture, combine the apple pie filling, cinnamon and lemon juice. Stir to combine.
- When the crust has cooled, pour the apple pie filling on top of the crust. Take the remaining one-third of the dough and crumble it over the top of the pie filling.
- Sprinkle the top with 1/3 cup of chopped walnuts. Bake for 24 minutes.
- Remove from the oven and allow to cool before cutting. Dust tops with powdered sugar and/or drizzle with caramel sauce, if desired.
- Store any leftovers in the refrigerator.