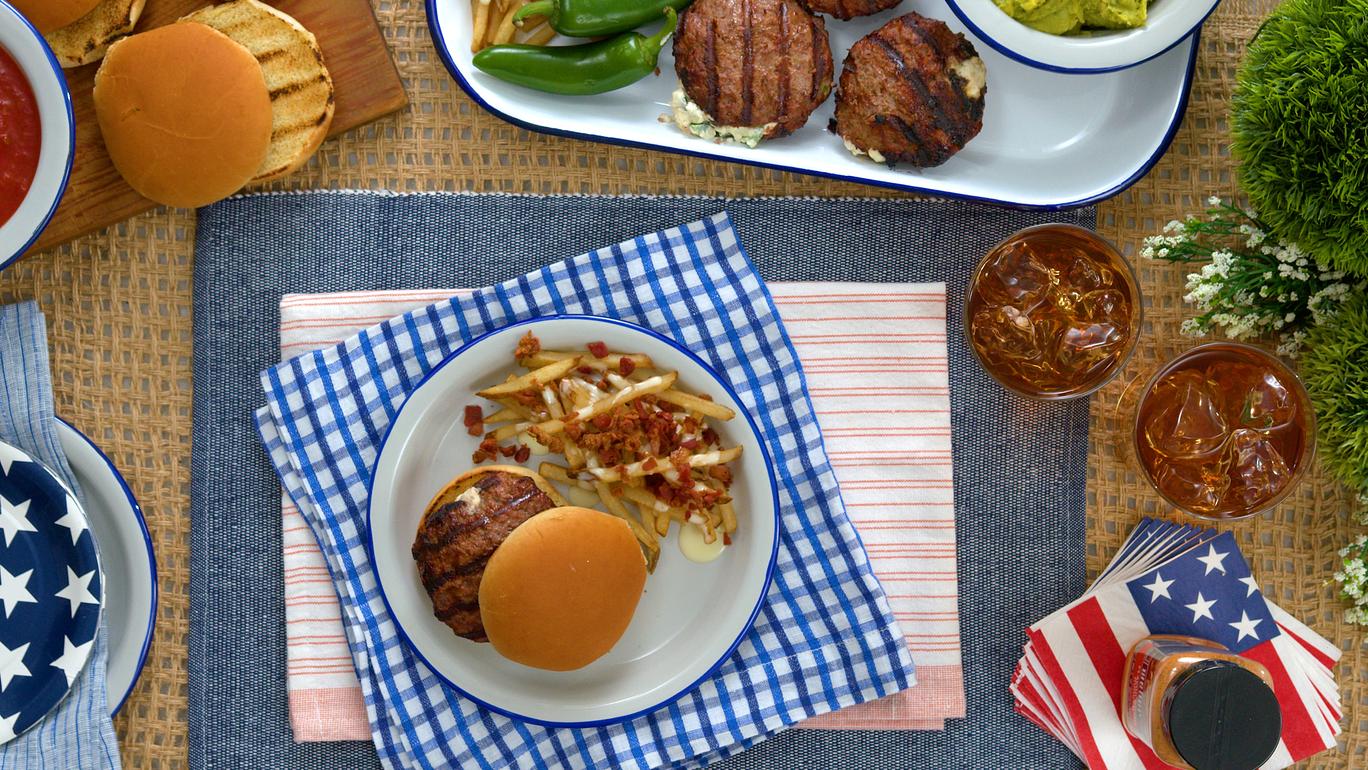
Everyone celebrates the start of summer on Memorial Day Weekend, but the OFFICIAL start of summer is this week! (June 21 to be exact). We don’t know about you, but summer is practically synonymous with grilling…burgers in particular! Nothing really says summer like firing up the grill and cooking up a nice juicy burger with all your favorite toppings. You might even say that burgers on the grill are the “official scent of summer!”
All jokes aside, we are actually quite serious about our burgers. As you might have noticed, we offer quite a few burger recipes and videos on our website. For the most part, these recipes use Weber® Seasonings (when you make a burger with Weber® Seasonings, you just can’t go wrong!)
While we’ve got you covered in the flavor department, you might be looking to perfect your burger grilling skills. Well, you have come to the right place! Maybe you’re new to grilling, or maybe those burgers never turn out just the way you want them to. While they’re a common food, burgers are a little easy to mess up. They can turn out anywhere from hockey pucks to wayyy too pink. Sometimes they’re dry, and sometimes they’re dripping with grease. Don’t fear. We are here to reassure you that this summer is the summer of the ULTIMATE BURGER! Let’s get grilling!
Step 1: Choose the Right Meat
We are all about healthy eating and watching our fat intake, but when your goal is to create the perfect burger, you have to let your nutritious lifestyle go to the wayside (it’s ok, just as long as you’re not eating burgers for dinner every night)!
To avoid a dry burger (blech), you will want to purchase ground beef that has a fat content of 80/20. (If that amount of fat is really bugging you, you can try 85/15, but your burger may not turn out as juicy.)
If you aren’t into beef at all, here are some tips on grilling plant-based burgers (and sausages, too)!
Step 2: Be Mindful of Your Prep
Unlike some other meats, you are going to want to use cold meat to make your burgers. Don’t let it sit around and get to room temperature, or else you will end up with dried out burgers.
Step 3: Mixing and Seasoning Awareness
We know that it might be tempting to mix the meat around with a bunch of things like eggs and breadcrumbs. But take our advice – do not over-handle the burger meat! The best rule to remember is to try and keep your hands to yourself as much as possible. That means very little mixing and working. When the meat is in a bowl, sprinkle on your Weber® Seasonings to flavor the meat (do this to your liking). Then use your hand to break the meat up and fold it into the seasonings. Be gentle though…and it also helps to pop the bowl in the fridge for a few minutes before you form the patties.
About the seasoning – if you are wanting the ultimate juicy burger, you might want to resist adding the seasoning until after the patties are formed. This will ensure they will not become dried out.
Step 4: Shaping the Burger aka The Most Important Step
You might think that your grilling technique is what makes or breaks your burger. However, we have to argue that your burger-shaping skills determine how everything turns out. We all want to avoid a crumbly burger or one that has hard sides and a puffy middle (all results of over-handling the patties).
To avoid these disasters, GENTLY shape about 1/3 lb of meat into a circle. Then place it on a flat surface and use your hand to cup it into a semi-circle. Then, use your other hand to press the meat into a patty that is about 1” thick and 3” to 4” in diameter. You might be thinking this looks too big for the bun, but they will shrink during cooking! Lastly, make a small imprint in the center of the burger to ensure it won’t puff up. If you don’t plan on cooking the patties right away, put them in the fridge until you’re ready.
If you remember anything from this step, remember this: make the patty 1” thick, and don’t overwork it!
Step 5: It’s Grill Time
For this post, we are going to talk about cooking on a gas grill. First, you’re going to want to make sure the grill is clean (hopefully you cleaned it after the last meal you made, but we all make mistakes)! Set the temperature to high heat (450-500°F) and then take some tongs, grab a paper towel that’s been dipped in cooking oil, and coat the grates with the oil to prevent sticking.
Next, (this part is up to you), you can try the two-zone method. This means you have your direct heat on one side, indirect on the other, and the burgers will be cooked on both. Start them on the direct heat side to get a crust going on the outside, and then move them to the indirect side to finish cooking (and ensure they’re not burnt).
You can also just cook them on direct heat using the one-flip method. This means you will cook the burgers for 3.5 minutes on each side for medium-rare to medium burgers. Easy! Not into medium-rare or medium? Here is some cook time information – just flip halfway through (and close the lid while they’re cooking):
- Medium-rare: 6–7 minutes total
- Medium: 7–8 minutes total
- Medium-well: 9 minutes total
- Well-done: 10 minutes total
If you’d prefer to judge your burgers’ doneness based on their internal temps, here are some things to remember:
- Medium-rare: 130°–135°F
- Medium: 140°–145°F
- Medium-well: 150°–155°F
- Well-done: 160°F
Another tip for you to remember – resist the urge to flatten them down while they’re cooking. We know it’s tempting, but that can result in dry burgers (boo)! You also don’t want to flip them too early – if they’re still sticking to the grate, leave them on a little longer before flipping.
Step 6: A Note about Cheese
If you’re like us, your burger would be incomplete without cheese! If you’re looking to add melty goodness, place some cheese on the burger (after you’ve already flipped), cover the grill, and let cook for the burger’s final minute on the grill.
Step 7: Don’t Forget to Jazz it Up
What can wreck your burger’s perfection in one quick bite? A dry, soggy, blah bun! Be sure to throw the buns (or whatever bread you’re using) on the grill for a quick minute to get them nice and toasty. Then be sure to dress your burgers up with all the sauces, veggies, and toppings that you love.
Looking for burgers that are REALLY out of the ordinary? Don’t forget to check out all of our amazing burger recipes! With these tips, we don’t think you will be hitting the burger drive-through any time soon this summer!