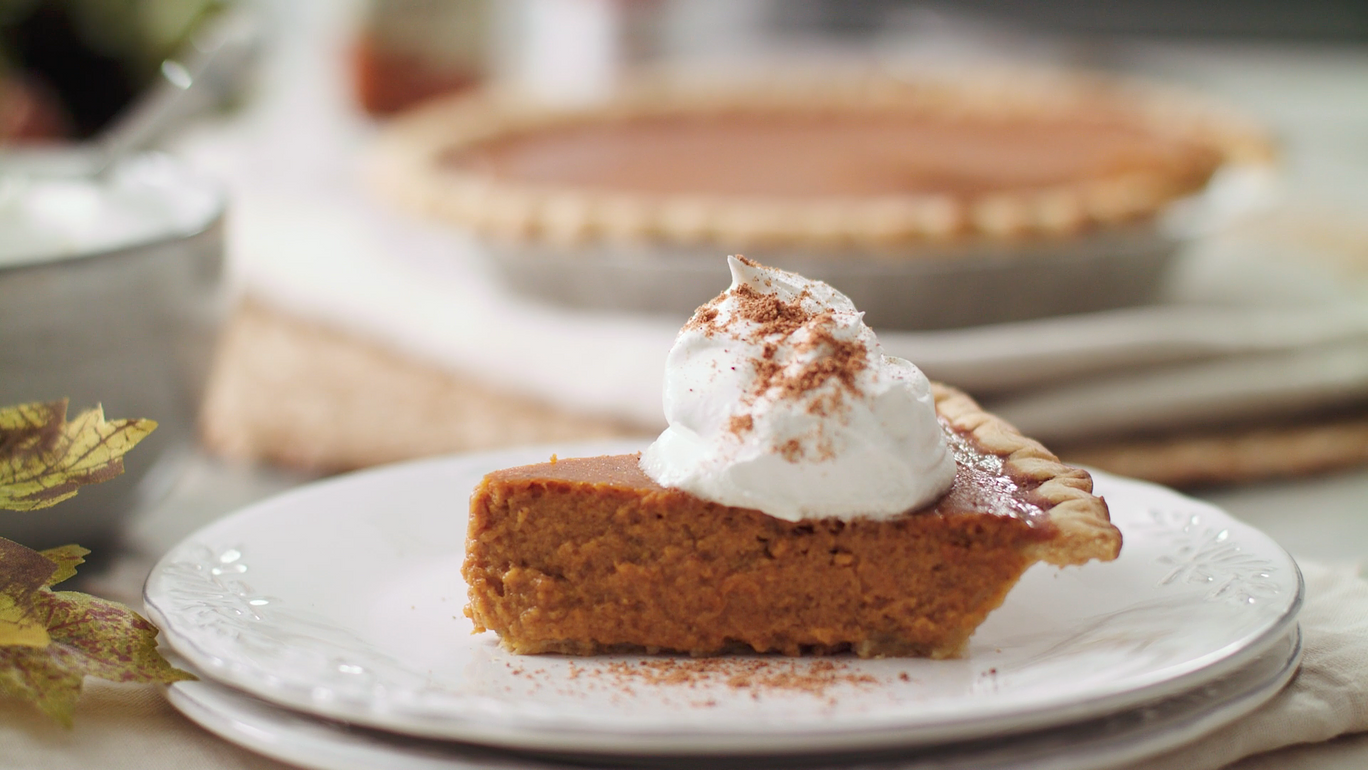
The holiday season is officially here, and what better way to spread joy and warmth than with freshly baked pies? Christmas pies have been around since the 15th and 16th centuries. They didn’t become the Christmas dessert for nothing! But it’s amazing to think something that’s been around so long could still give us this much trouble. Pesky pie crusts have been giving people tough doughs and soggy bottom nightmares for years, but we’re here with solutions. Today we’ll explore the secrets to creating the perfect holiday pie crust that will have your friends and family singing your praises.
Crafting the Perfect Crust:
First, choose the right type of crust for your delectable holiday:
- The Classic Butter Crust:
The classic butter crust is a time-tested favorite, bringing a rich and flaky texture to your pies. Begin with cold, unsalted butter and all-purpose flour. Cut the butter into small cubes and work it into the flour (this is typically done by pinching the cold butter pieces with the flour or using a fork or pastry cutter) until the mixture resembles coarse breadcrumbs. Add ice water 1 tablespoon at a time until the dough comes together. Chill it for at least 30 minutes before rolling (this may seem like a skippable step, but we promise it makes a difference).
- The Flaky Shortcrust:
For pies that demand a delicate touch, the flaky shortcrust is your best friend. Incorporate cold butter into a mixture of all-purpose flour, sugar, and a pinch of salt. Add a beaten egg yolk to your dough and then 1 tablespoon of ice water at a time until the dough comes together. Wrap the dough in cling film and chill for 30 minutes. Handle the dough gently to keep it tender, and you’ll be rewarded with a melt-in-your-mouth experience.
- The Nutty Gingersnap Crust:
For those aiming to add a little something different to their holiday pies, consider a nutty gingersnap crust! Crushed gingersnap cookies mixed with finely chopped nuts (walnuts or pecans work well) and melted butter create a crust with a robust flavor profile. This type of crust pairs wonderfully with pumpkin or chocolate pies (or even a twist on a classic cheesecake) offering a delightful contrast to the creamy fillings.
Say No to Soggy Bottoms:
Ah, the dreaded soggy bottom – the bane of every pie baker’s existence. Fear not, for we have the tips to ensure your crust stays crisp and golden:
- Blind Baking:
Before adding your luscious filling, blind-bake the crust. Once you put your crust in your prepared baking dish, line it with parchment paper and fill it with pie weights, dried beans, or dried rice (this prevents the crust from puffing up). Bake for about 15 minutes, remove the weights, and continue baking until the crust is golden (some recipes have you add your filling at this step so make sure to check)! This pre-baking step creates a barrier, keeping moisture at bay.
- Egg Wash Seal:
To further fortify your crust against moisture, consider brushing it with a thin layer of beaten egg white before adding the filling. This creates a protective seal that helps to keep the crust crisp, ensuring your pie remains a textural triumph.
Choosing the Right Crust for Your Pie:
- Butter Crust for Fruit Pies:
The classic butter crust is an excellent choice for fruit pies like apple, cherry, or peach. Its flakiness complements the juicy sweetness of the fruits, creating a harmonious balance of textures and flavors.
- Graham Cracker Crust for Cheesecakes:
A graham cracker crust is a splendid companion when it comes to cheesecakes or pies with creamy, luscious fillings. The subtle sweetness and crunch provide the perfect contrast to the velvety smoothness of the filling.
- Shortcrust for Custard and Cream Pies:
Pies with rich custard or cream fillings, such as chocolate or coconut cream pies, benefit from the tender touch of a flaky shortcrust. Its delicate crumb structure complements the silky nature of the filling, creating a symphony of textures in each bite.
Final Flourishes:
Finally, show off your creativity by adding an extra touch to your holiday pies this season:
- Decorative Edges:
Give your pies a personal touch by experimenting with decorative crust edges. Use a fork to create a classic crimped edge, or try your hand at intricate lattice patterns (we promise they’re not as hard as they seem)! Not only does it add visual appeal, but it also showcases your creativity and skill!
- Flavorful Glazes:
For an extra burst of flavor and a glossy finish, consider brushing your baked pie with a flavorful glaze. Apricot or apple jelly works wonders, adding a hint of sweetness and creating an enticing sheen on the surface.
As you take on your holiday pie-baking adventure, remember that practice makes perfect. Don’t be discouraged by the occasional mishap (even a soggy bottom!) – each pie is a labor of love your family will enjoy. So, roll up your sleeves, dust your countertop with flour, and let the holiday baking festivities begin. May your pies be golden, your crusts be flaky, and your celebrations be filled with the sweet aroma of success.
Not sure where to begin? No need to scour the internet – we have the perfect pie crust recipe to test your hand. Let us know what you think!
If you’re unsure what to use your pie crust for, our Pecan Pie or Hazelnut Fig Tart are sure to be crowd-pleasers.
